Crafting Brilliance: A Step-by-Step Guide on How to Design Printables for Maximum Impact
Designing printables involves several creative steps to ensure a visually appealing and functional final product. Here's a step-by-step guide to help you through the process:
- Define Purpose and Audience:
Clearly outline the purpose of your printable and identify your target audience (education , outdoor usage, private usage etc ) Whether it's a planner, wall art, or educational material, understanding the intended use helps guide the design. - Brainstorm Ideas:
Generate creative concepts that align with your purpose (do some online research about the topic ). Consider color schemes, themes, and visual elements that resonate with your audience and the overall objective of the printable. - Sketch Initial Designs:
Begin with rough sketches to visualize your ideas (you can use online tools google draw or offline usage softwares ). Focus on layout, spacing, and key elements. This stage allows for experimentation and refining concepts before moving to digital tools. - Choose Design Software:
Select a graphic design tool that suits your proficiency level and preferences. Popular choices include Adobe Illustrator, Canva, or even simple tools like Microsoft Word or Google Docs for basic designs. - Create Digital Drafts:
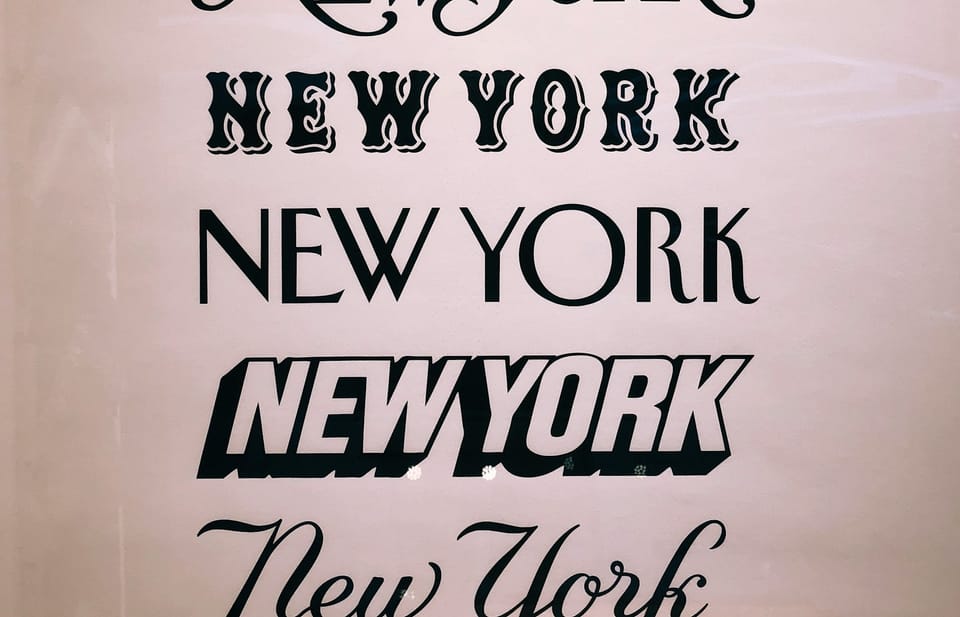
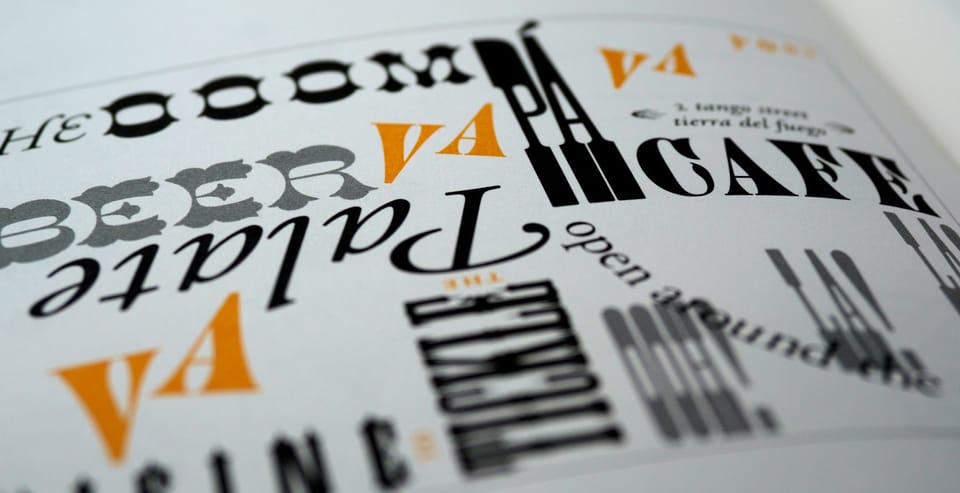
Transfer your sketches into digital format using the chosen design software. Pay attention to details like font styles, colors, and sizing (most of our designs are A4 size desgins ). Ensure that the design is clear and easy to understand (also check your color with high quality display otherwise printable designs colors will changed ). - Incorporate Branding Elements:
If applicable, include branding elements such as logos or color schemes to maintain consistency across your printables. This helps establish a cohesive look and reinforces brand identity. - Optimize for Print:
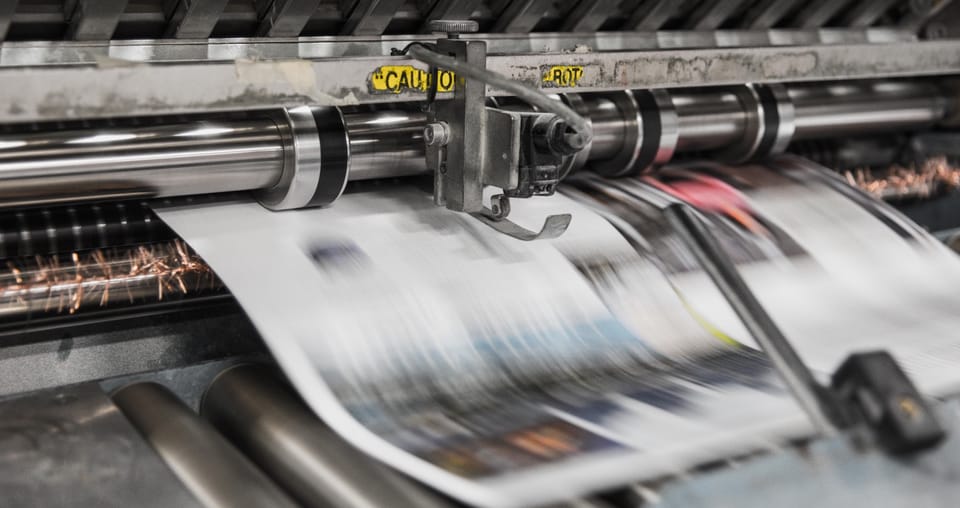
Adjust the resolution and dimensions of your design to ensure high print quality. Consider factors like bleed and margin settings (different printers have different bleeding settings), especially if you plan to print professionally or share the printable with others - Test Print:
Before finalizing your design, conduct a test print to identify any potential issues. Check for color accuracy, alignment, and overall print quality. Make necessary adjustments based on the test print results. - Finalize Design:
Incorporate feedback from the test print and make final adjustments. Double-check for spelling errors, proper alignment, and ensure that the design meets the intended purpose. - Save in Print-Ready Formats:
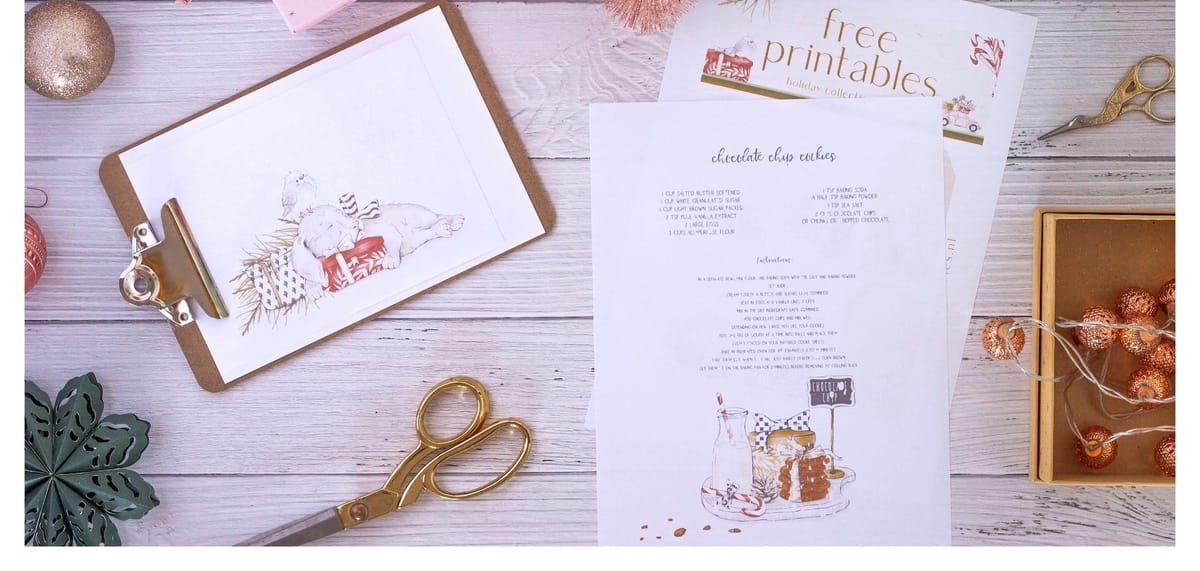
Save your printable design in formats compatible with printing, such as PDF or high-resolution image files. This ensures that the end user can easily access and print the design without loss of quality. While PNG or JPEG formats are also possible for printing, sometimes the quality may be compromised. - Share or Distribute:
Depending on your goals, share your printables digitally or make them available for download. If you plan to distribute physical copies, choose a reliable printing service or use your own printer to reproduce the designs.